
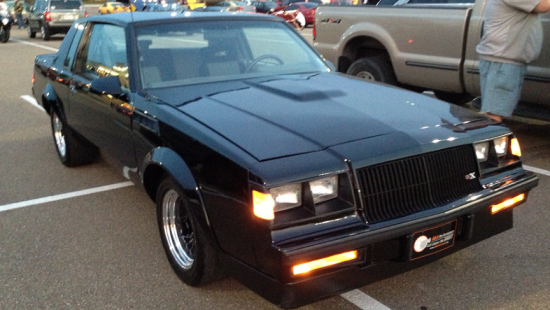
MY 1987 BUICK GNX CLONE
NUMBER 500
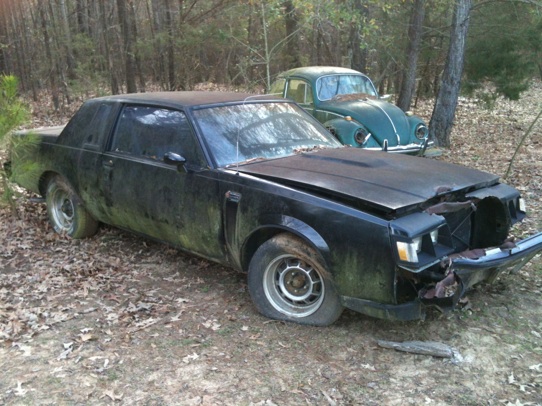
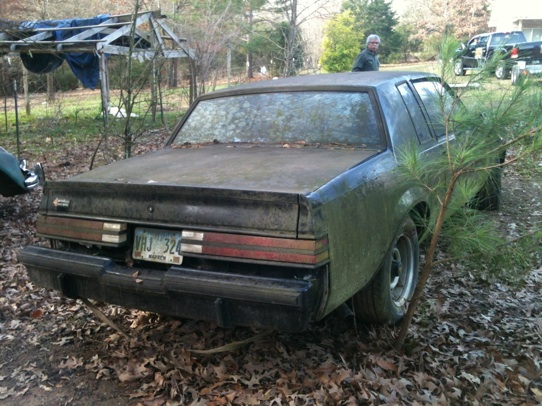
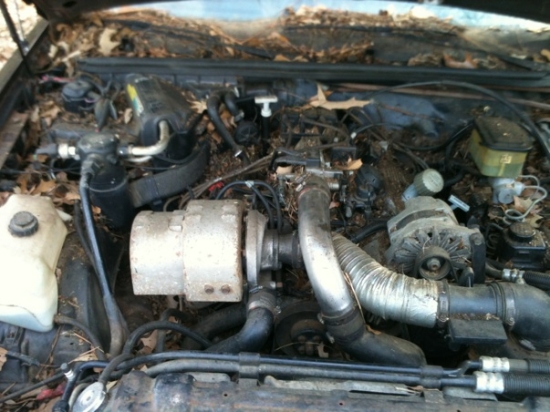
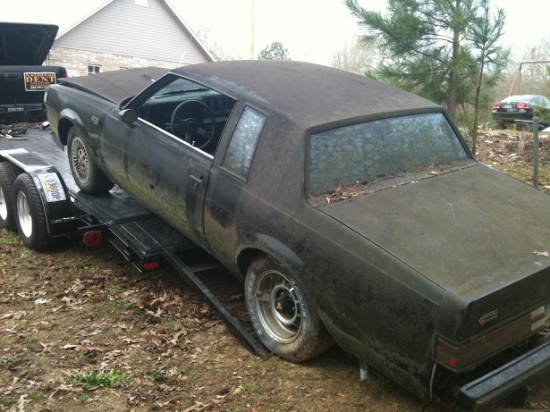
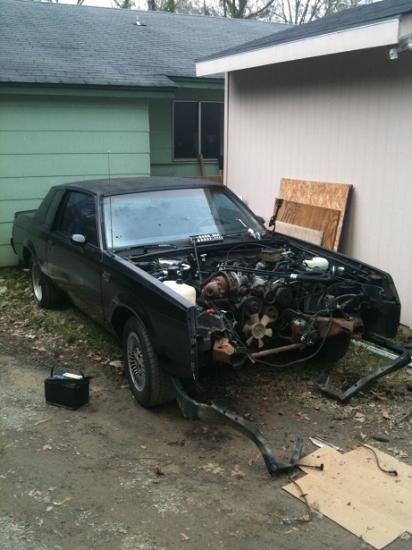
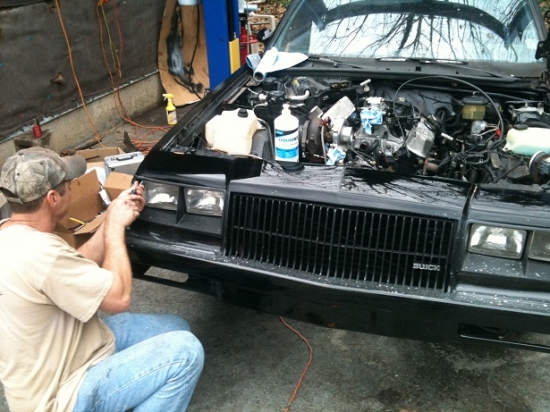
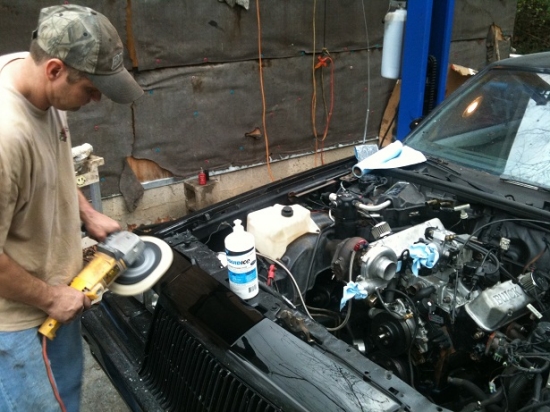
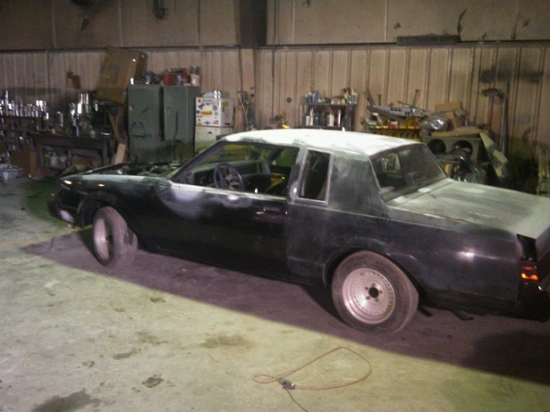
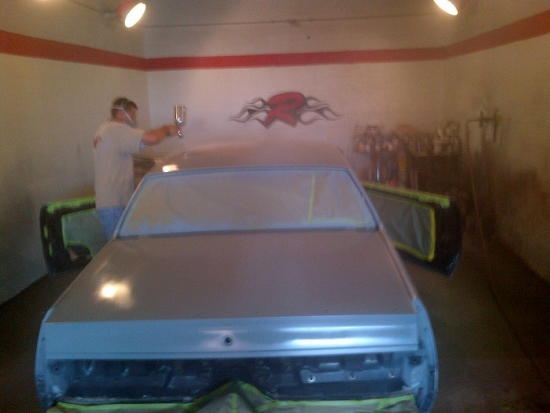
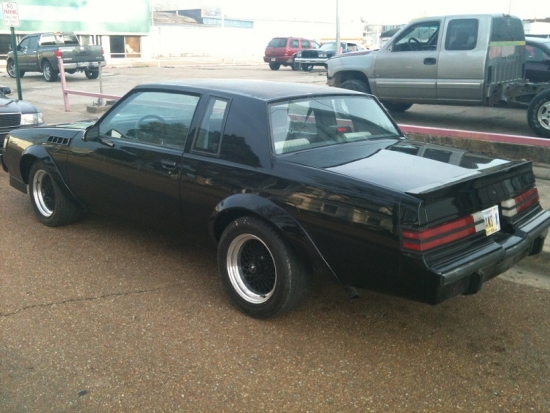
This car kinda just dropped in my lap one day. A friend bought this 87 GN back in 1995 from a used car lot in Cali and wrecked it one year later. I had been trying to buy it ever since. Out of the blue, the owner called me up and asked if I was still interested in buying that old Grand National he had..I said "YES SIR"! Jason and I went to pick the car up at his house and we learned the car had been sitting in a cow pasture for 15 years untouched! So, you can see it looked pretty nasty and ruff, but as Jason and I started cleaning on it, it started to shine. Well one side anyway. The other was too badly sun bleached to buff out. I put a battery in it and it spun over, but the rats had chewed alot of the wiring. First we pulled the bent up front nose off then the drive line, wiring harness, and started repairing and replacing everything. It runs and drives great. Next step was to send it to Chris @ Ratlif paint and body in Greenwood MS for a new paint job. I cant wait to see it when he is done. 2/20/12
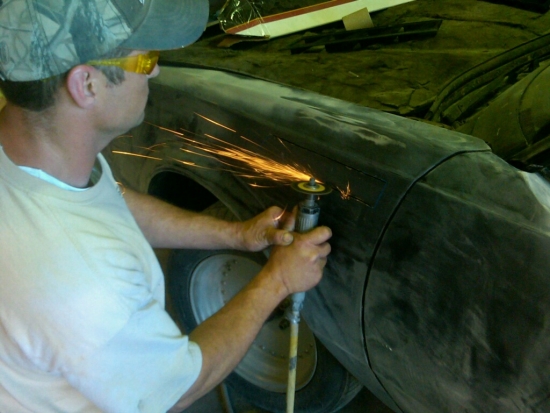
Off with the old.
In with the new.
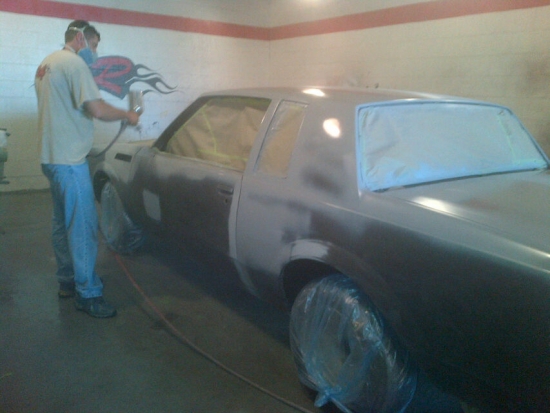
Now at Ratliff''''''''s body shop so Chris can work his magic.
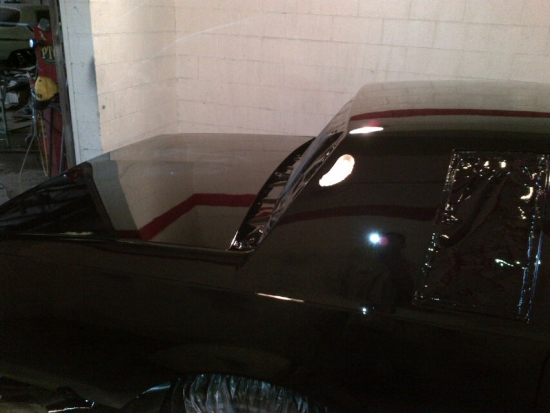
Out of the paint booth and starting to go back together.
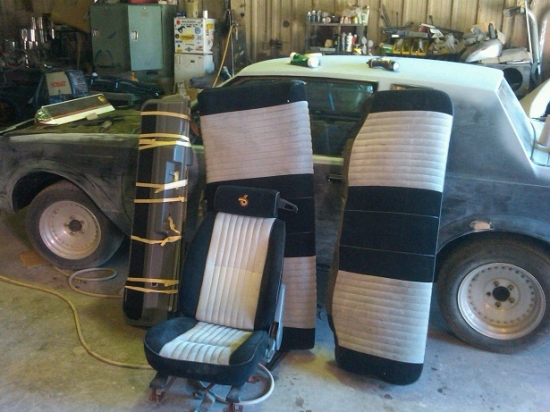
I never liked the way these cars sounded hollow when you close the doors so we added Dynamat everywere we could.
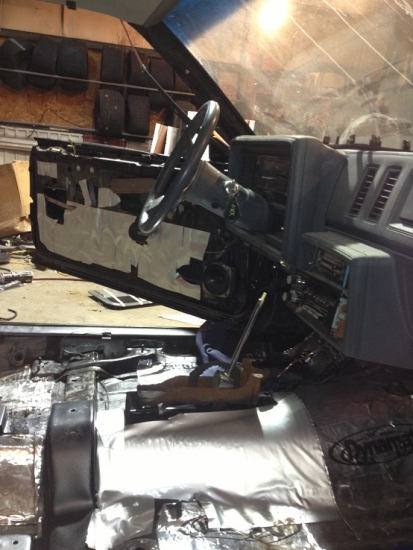
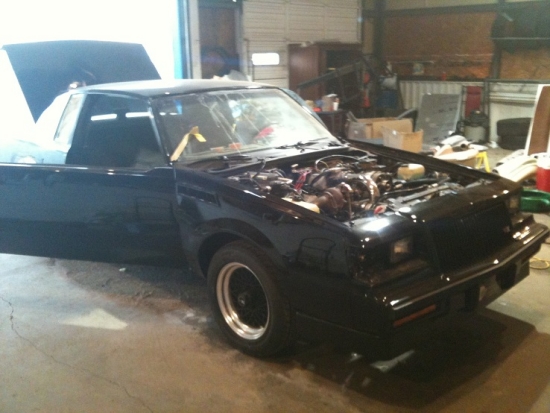
Once we got it back home we stared to install the last of the real GNX dash clusters, the rear GNX seat brace, then the GNX rear suspension and traction bar. WHAT A PAIN IN THE BUTT ALL THAT WAS! I know now why these cars cost so much over the Grand National. Every single piece of the GNX kit that ASC installed on these cars was custom fitted, NOT one piece was a direct bolt on. It was very labor intensive. There are only a few small items left that you really can''''''''t see to complete the build, but I will have them shortly.
Installing the last of the real GNX dash clusters.
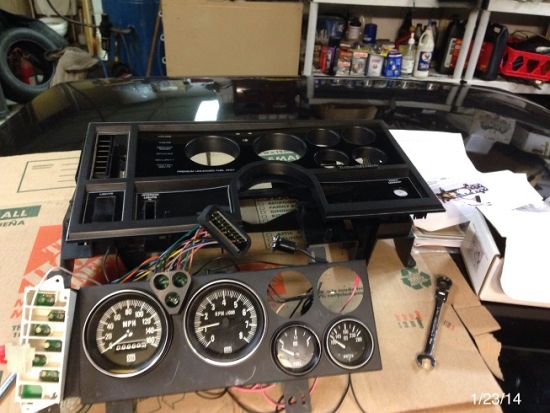
More stuff you didn''''''''t know about the custom build of each one of these cars. The Stewart Warner speedometer had to be removed and taken apart and painted silver or white to get the dash lights to match when you turned on the lights at night. I Had to take the speedo apart 3 times until I got it match all the other gauges.

Every gauge had to be fitted just right to line up with the gauge cover that was molded incorrectly to start with. If you study these cars as much as I have and know what to look for, you can see the imperfections in all the real GNX dash gauges. But I couldn''''''''t stand to see them in my dash, so it took even more time of installing and removing over and over until I made it perfect.
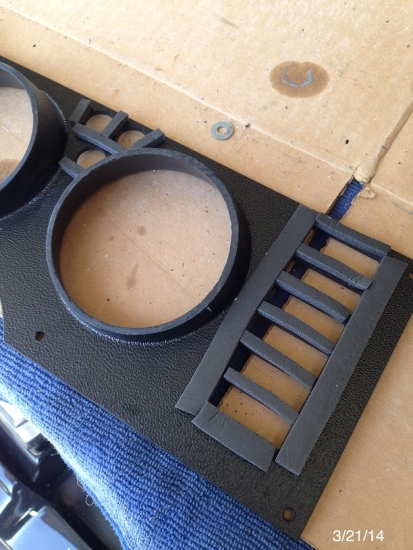
This is a pic of the foam cut outs that had to be placed around every light to stop the lights from bleading over on to one another when they come on. Again Pain in the butt.
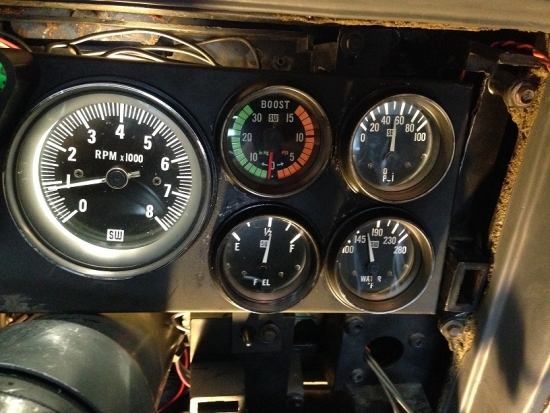
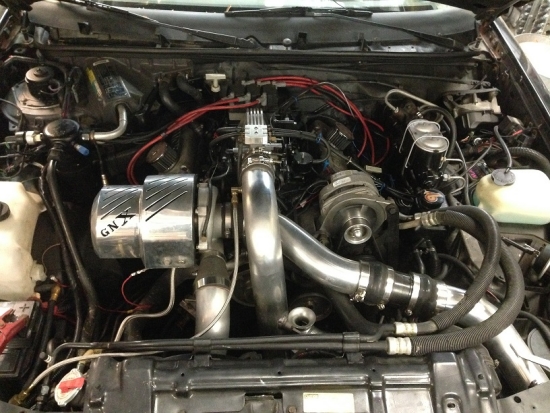
One of the many test fits to see if every gauge was level, turned facing the same way, or cleared the face plate, (which was a Pain in the butt) as well as making all the electrical components work together. Gas tank sending unit had to be removed and float adjusted to calibrate the fuel gauge. I Replaced all sending units on the engine for the gauges and adjusted the IMPOSSIBLE to find GNX boost gauge to know where 26psi is for my engine, even though the PSI on the gauge stops at 15psi.
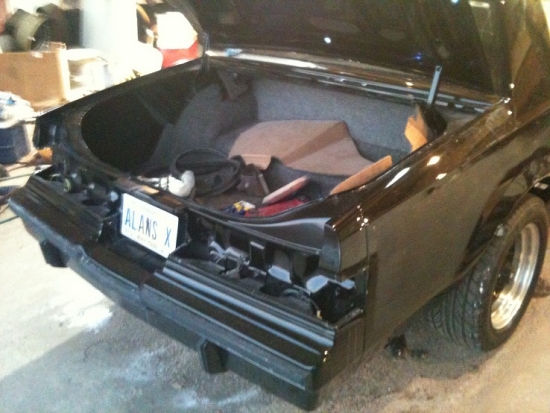
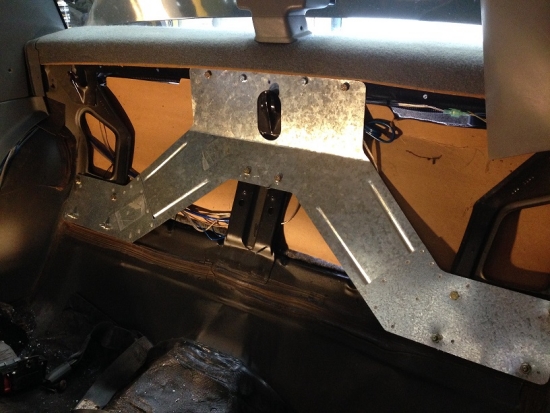
The GNX rear seat brace and factory upper body bushings over the rear end frame rails that ASC installed on the GNX''''''''s were missing. This strengthend the G body''''''''s body in this area where GM cut corners by leaving the body bushings out of all the Buick Regals. I installed them and what a difference it made.
I took the car to the Buick Dealer that I grew up working at when I was younger, and had my friend Allen Felker put it on the frame machine to get it exactly straight before we started welding the suspension on even though the kit came with the tools the ASC used 28 years ago. Kirban''''''''s had a $300 deposit on those tools!! I guess they wanted them back when we were finished.
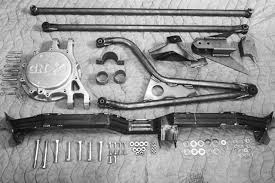
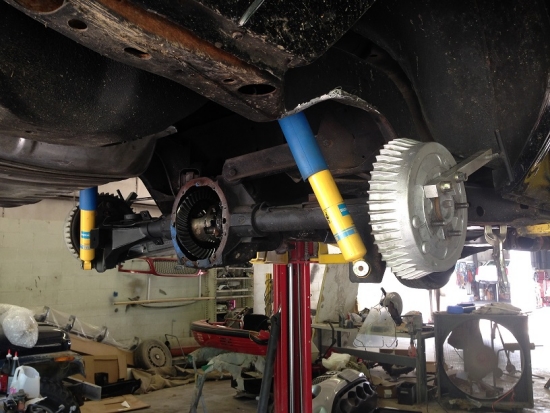
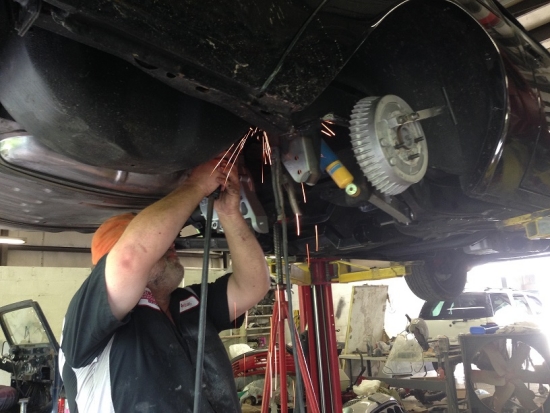
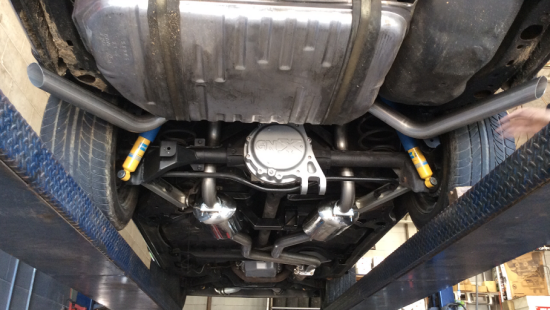
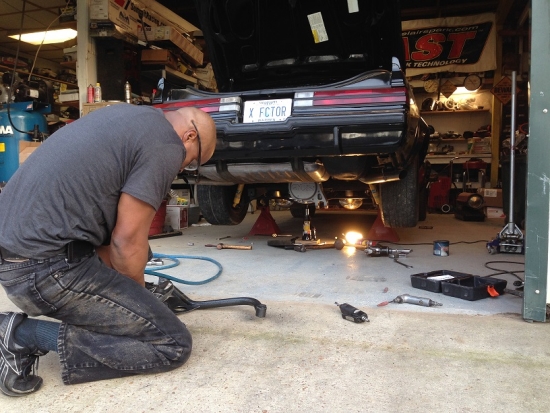
This is a very sweet stainless reproduction exhaust ($$$$) that only fits the GNX because of the square tube frame that has to be welded on, infront of the rearend to connect the front of the traction bar so the right side muffler has to hang lower than the left to clear the tube. These mufflers are very quiet & free flowing to help the turbo spool up.
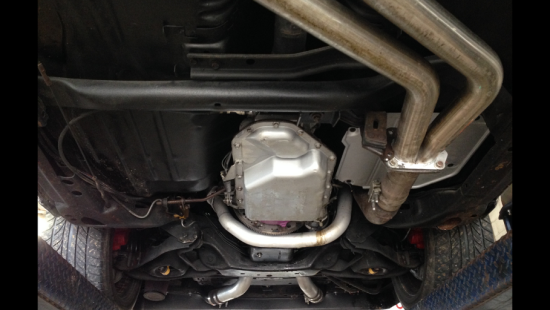
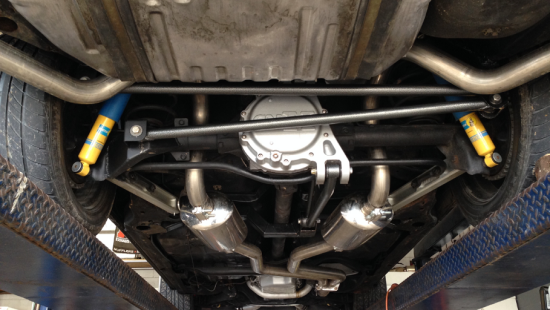
Once every piece was welded into place, it was still no picnic installing all of the bars. We used floor jacks, bottle nose jacks, come-a-longs, pry-bars, and all of the other tools in the pic to get them on. I have to say it was all worth it. Unless you drive a Grand National everyday like I do, then you might not feel the difference, but it was a major improvement. A Grand National already has upgrade suspension over the standard Regal, but this kit makes it feel & handle like a Corvette.
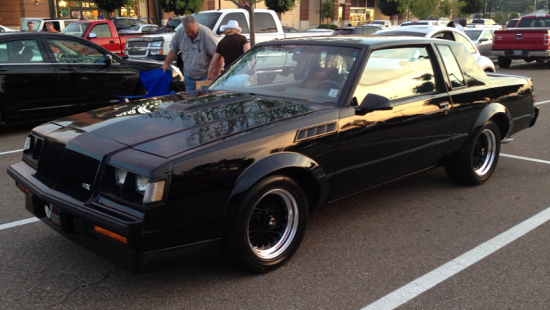
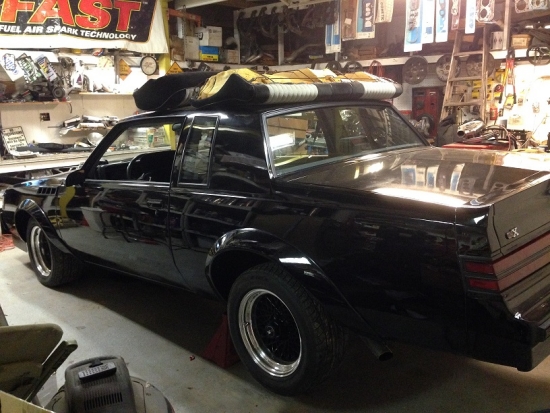
All cleaned up ready to go on the 2015 Hot Rod Power Tour.

Now that the GNX is finished, its time to sell and move on to new project. Everything on the car is new or replaced with as close as could find to new. Asking $60000. This is as close to a real GNX as you can get and drive it not lock it away in some storage locker. Over 500hp runs 10s in 1/4 and average 20mpg on Power Tour.